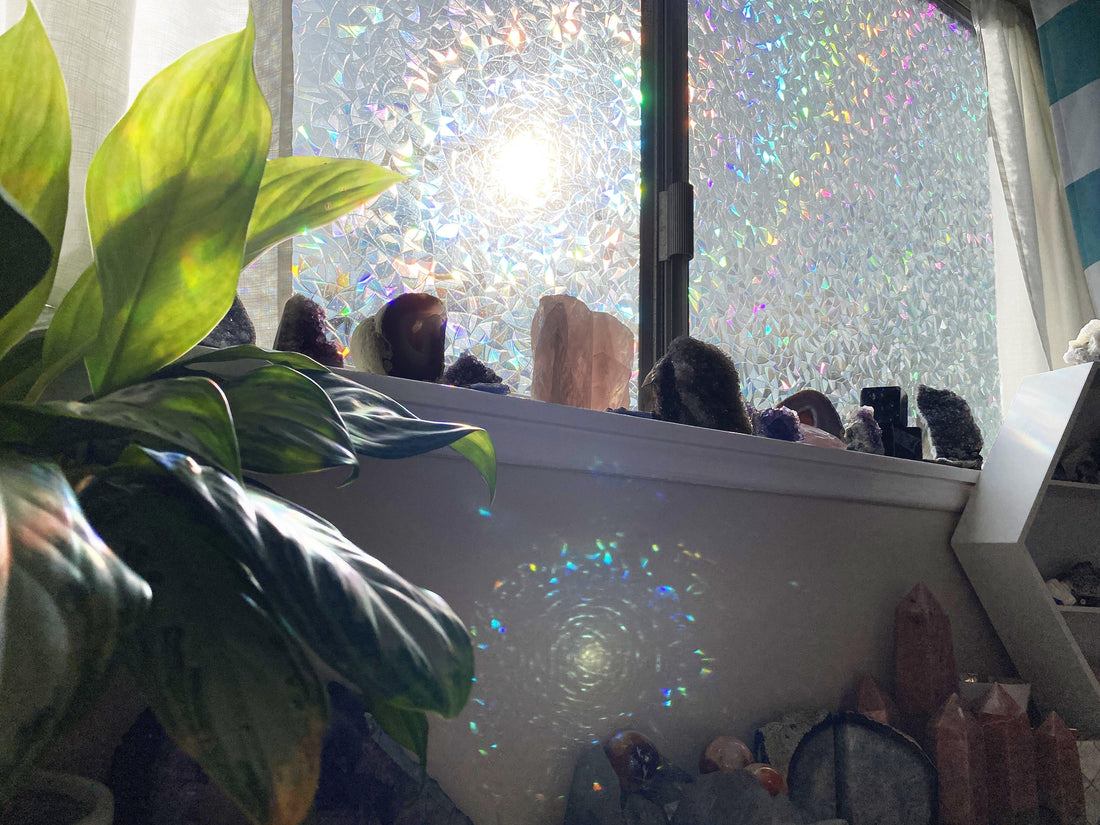
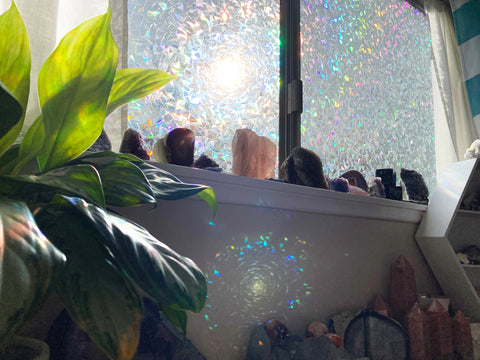
Looking for a fun way to gain privacy from your neighbors while still letting the sunlight in? Bonus points for rainbow prisms shooting around your room! If you are like me, you live in fairly close proximity to your neighbors and their prying eyes! Rainbow window film to the rescue!
So while I wait for my trees to grow up from baby tree status, I decided to give the Contempo Crystals inventory room windows a cheap an easy upgrade with some fun rainbow prism window clings. Apologies for not filming a better 'how-to' version. But here is a run down of how to do it and what you will need. It takes less than 30 minutes and is easily under $40 especially if you already have some of these tools. PS, there is NO GLUE, it's just static so you can take off easily.
PS, these are the crystals that are part of the shop INVENTORY haha, not my personal stash haha. They are all up on this site or Instagram.
GET READY
- MEASURE!! As my grandfather used to say 'measure once and cut twice'. Just kidding. Seriously double check your measurements. For each window you will want to know the LENGTH and HEIGHT of the window(s) you are covering.
- The Rabbitgoo rainbow window film comes in a variety of sizes, so choose the one that suits your window best. My window is 72" x 32" overall, so I went with the 78" x 35" roll.
- Buy or gather everything you will need which is listed below!
- While you are waiting for your items to arrive, be sure to give your windows a good cleaning. I did this a day ahead of time so I could make sure the window cleaner fully evaporated as it can cause gas bubbles if you don't. I suggest giving the window a good wipe down again right before you apply the clings and make sure the window is completely dry first!
HOW TO APPLY
- Measure your windows again. Once you are sure, use a straight edge and cut to size. You can leave it slightly larger than needed because you can cut once it is on the window. But you want to remove extra 'bulk'. (make sure both sides are long enough BEFORE cutting!)
- Make sure you have a factory edge on two sides (so they are straight), the top and side. Make sure you have the correct side for each side of the window. AKA a top and right (for the left window), and a top and left (for the right window).
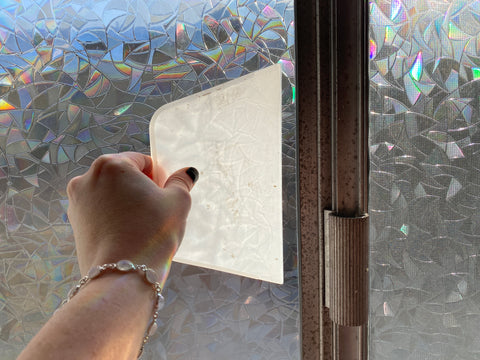
- Once you are ready to go. Remove the film backer and place the 3D side up so you don't get the cling side dirty.
- Wet the entire window with warm soapy water. You may have to re-apply so keep it handy.
- Starting in the middle, aka the most visible part of your window where the two window edges line up and overlap in the center. Line up the film in the top corner. Make sure it stays lined up as you place the side and top. You will want to make sure you are lining up correctly at this point otherwise you will get yourself in trouble.
- As you go, use your 'scrapper' or 'tint tool' to push the film into place and also flatten as you go. This is how you will remove bubbles and excess water.
- Once you are pretty smooth, use the scrapper tool and your exacto knife and trim the edges where needed.
It will take a little bit to get used to the feel and how it moves, but it will get there. Once you get the bulk of the sheet up on the window, it will stay up on its own to give you more time to work with it. Just have patience! : ) The good news is, unlike contact paper, even if you screw up you can easily start over!
Bonus Tip 1 - If you don't want to (or can't) cover the whole window, I saw some cool options where you can just do a thick stripe, or the bottom half of the window. Or you can get super artsy and do some zigzag designs or polka dots. While that may not provide as much privacy, it will make rainbows!
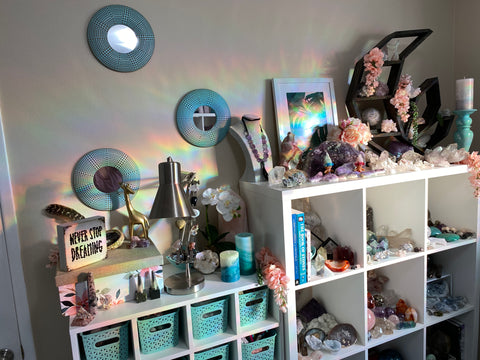
Bonus Tip 2 - If you want to really amp up the rainbows, place mirrors in spots where the rainbows shine in and they will reflect on other walls!
GOOD LUCK!!!!
- - - - -
ITEMS YOU WILL NEED
Rabbitgoo 3D Window Film - I looked at all of the reviews before buying this one. And I can say it went on really well and looks amazing! Still going strong after 2 years!
Flat Tint Tool & Blade - I had one already laying around, but I tried to find a similar one for you. Just make sure the scrapper doesn't have a sharp edge or it will cut the film.
Towel
Sponge
Bowl
Soap
Window Cleaner
Soft Rag
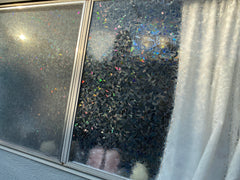
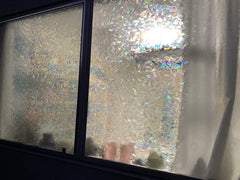
PS, here it is from the outside looking in during the day (left) and night (right). Not perfect privacy, but definitely not feeling like someone is staring at me all the time anymore! The curtains will still be shut at night haha.
All of the crystals shown in the inventory room are up on the crystals shop or @contempogems on Instagram! (or now sold depending on when you see this)